

🔧 How to Make Your Own Solar Panel (Step-by-Step Guide)%20(1).jpg?width=1600&height=896&name=How%20to%20Make%20Your%20Own%20Solar%20Panel%20(Step-by-Step%20Guide)%20(1).jpg)
Building your own solar panel is one of the most rewarding DIY projects you can tackle — especially if you’re into off-grid living, RV travel, or renewable energy. It saves money, teaches you how solar systems work, and gives you the satisfaction of creating power from sunlight with your own hands.
Here’s a simple step-by-step guide to help you get started.
☀️ Step 1: Gather the Right Materials
Before you begin, you’ll need the following components:
✅ Solar cells (monocrystalline or polycrystalline — monocrystalline is more efficient)
✅ Plywood or aluminum backing board
✅ Clear plexiglass or tempered glass cover
✅ Bus wire & tabbing wire
✅ Flux pen and soldering iron
✅ Silicone sealant (for waterproofing)
✅ Blocking diode (to prevent reverse current)
✅ Multimeter (for testing voltage and current output)
💡 Tip: You can find 👉DIY solar cell kits👈 on Amazon that include most of these parts — a great starting point for beginners.
⚡ Step 2: Prepare the Backing Board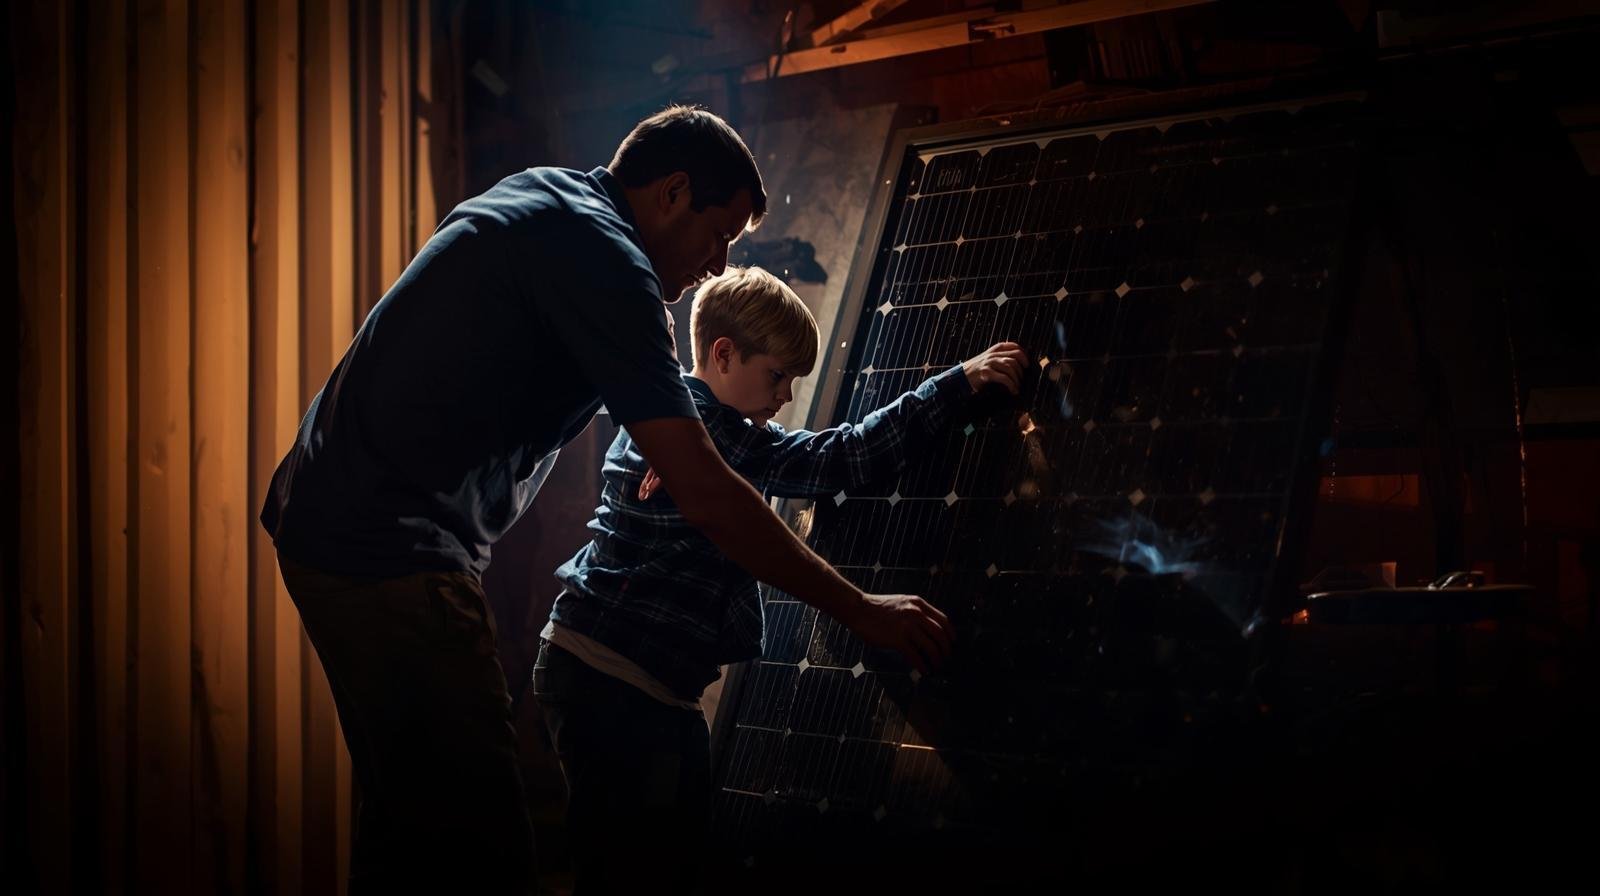
Lay out your backing surface (usually a piece of plywood or aluminum sheet).
-
Mark where your solar cells will go.
-
Drill small holes for wiring.
-
Paint or coat the surface with a weather-resistant sealant to protect it from moisture.
If you’re building for outdoor use, aluminum backing is ideal because it’s durable and heat-resistant.
🔋 Step 3: Solder the Solar Cells
This step requires patience!
-
Use 👉tabbing wire 👈to connect the positive side of one cell to the negative side of the next.
-
Continue connecting cells in series until you reach your target voltage (for example, 36 cells for a 12V panel).
-
Be gentle — solar cells are fragile.
After soldering, test the string of cells with a multimeter to ensure consistent voltage.
🧠 Step 4: Connect the Bus Wires
Attach 👉bus wires👈 to combine each string of cells into a single positive and negative output.
This creates the electrical pathway for your panel’s total current flow.
You’ll later connect these bus wires to your charge controller or battery.
🪟 Step 5: Seal and Protect the Panel.jpg?width=1600&height=896&name=A%20young%20boy%20and%20his%20dad%20building%20a%20homemade%20solar%20panel%20from%20parts%20they%20found%20laying%20around%20their%20house%20(1).jpg)
Place the connected cells onto your backing board and cover them with 👉clear plexiglass or tempered glass👈.
Use silicone sealant around the edges to make the panel weatherproof.
This step is essential to prevent moisture damage and extend the life of your homemade panel.
🔌 Step 6: Add the Junction Box and Diode
Mount a small junction box on the back of your panel.
Inside, connect your positive and negative bus wires, along with a 👉blocking diode to prevent battery drain at night.
Use proper strain relief to protect your wiring from pulling or bending.
📈 Step 7: Test Your Solar Panel
Take your panel outside on a sunny day and use your multimeter to test voltage and current output.
If you wired 36 cells, you should get roughly 18 volts in direct sunlight, which is ideal for charging 12V batteries via a charge controller.
⚙️ Step 8: Connect to a Charge Controller & Battery
Once your panel is producing power, connect it to a 👉solar charge controller, then to a battery (like the EcoFlow 12V 100Ah LiFePO₄👈).
This setup allows you to store energy and use it safely for your off-grid setup.
🌍 Safety & Maintenance Tips
-
Always use proper electrical safety gear when soldering or wiring.
-
Store panels in dry, shaded areas until fully sealed.
-
Check your connections regularly for corrosion or loose wires.
-
Add fuses or breakers to protect your system.
🧰 Tools & Accessories You’ll Need%20(2).jpg?width=1600&height=896&name=Create%20for%20me%20header%20photo%20of%20How%20to%20Make%20Your%20Own%20Solar%20Panel%20(Step-by-Step%20Guide)%20(2).jpg)
Here are a few helpful accessories to make your DIY solar panel project easier:
-
Soldering Kit – for connecting cells
-
Digital Multimeter – to measure output
-
MC4 Connectors – for safe connections
-
Silicone Sealant – for waterproofing
-
Charge Controller – to regulate charging
👉 View recommended solar accessories at Trisolar.site
☀️ Final Thoughts
Making your own solar panel is a fantastic way to learn, save money, and gain energy independence.
Even if your first build isn’t perfect, you’ll gain valuable hands-on experience and a deeper understanding of how solar technology works.
Ready to power your next DIY solar project?
👉 Explore trusted solar components, tools, and batteries at Trisolar.site — your source for quality solar gear and practical off-grid guidance.
Disclaimer: As an affiliate, I may earn a small commission if you make a purchase through my link. This will not result in any extra cost to you.
